Get 10% off your first order

Hot


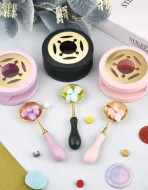
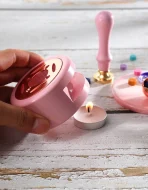
Sealing Wax Spoon
$9.95
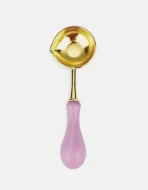
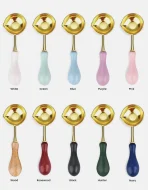
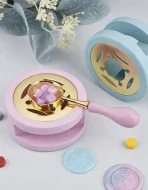
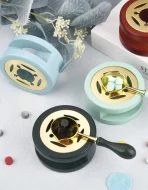
Our premium range of wax spoons are designed to hold wax beads for melting and pouring without overheating and come with a comfortable handle grip. They are available in a range of beautiful colours that can be used with matching wax burners and stamp handles from the same collection.
To use, simply place your preferred wax beads in the spoon’s bowl and heat over a small flame, such as a tealight or in the designated cut-out space in your wax burner. Once the wax has melted sufficiently, pour it using the specially designed pouring lip for maximum control.
Always make sure to clean your spoon once you’re finished using it, or if you’re changing to a different wax colour.
Please be sure to wait for the heated spoon to cool down before touching or cleaning it.

Please note, colours shown are not always an accurate representation of the true colour, as screens may display colours differently. If you're concerned, please get in touch and we'll help!
Description
Description
A reliable sealing wax spoon is the foundation of every hand-poured wax seal. Whether you are crafting seals for wedding envelopes, finishing luxury packaging, or adding an artisan touch to personal correspondence, the spoon is where the process begins. Our team selected this stainless steel wax melting spoon for its balance of precision, durability, and ease of use — qualities that matter when you are producing dozens or even hundreds of seals for a wedding suite.
Material and Construction
This wax seal spoon is forged from food-grade stainless steel, chosen for its superior heat distribution and resistance to corrosion. Unlike cheaper aluminium alternatives that warp after repeated use, stainless steel maintains its shape and finish over time, ensuring consistent pours from your first seal to your last.
The spoon features a purpose-built pour spout on the left side of the bowl, engineered to deliver a controlled, drip-free stream of molten wax. This matters more than most beginners realise — a poorly designed spout causes uneven pours, air bubbles, and wasted wax. The bowl itself holds enough wax for one to two seals per melt, giving you precise control over the amount of wax in each seal.
The handle is designed with heat resistance in mind. Its length keeps your hand well away from the flame, while the wooden or insulated grip remains cool to the touch during extended sealing sessions. Our team recommends this spoon for anyone producing wedding stationery in batches, where comfort over a sustained period is just as important as the quality of the finished seal.
How to Use a Sealing Wax Spoon
Using a sealing wax spoon is straightforward, but a few techniques will help you achieve professional results from the start.
Step 1: Add wax beads. Place three to four sealing wax beads into the bowl of the spoon. This quantity produces a single seal approximately 25mm in diameter. For larger stamps, add one or two additional beads and adjust as you develop a feel for your preferred seal size.
Step 2: Heat the spoon. Hold the spoon over a tea light candle or dedicated burner, keeping the bowl roughly 2–3 centimetres above the flame. Rotate the spoon gently to distribute heat evenly. The wax will begin to soften within 20–30 seconds and reach a smooth, fully liquid consistency in about 60 seconds. Avoid overheating — if the wax begins to smoke or darken, pull back from the flame briefly and allow it to cool slightly.
Step 3: Pour the wax. Once the wax is completely molten with no visible lumps, pour it steadily onto your envelope, paper, or silicone wax seal mat in a single, controlled motion. Aim for a round pool slightly larger than the face of your stamp.
Step 4: Stamp. Allow the wax to settle for two to three seconds — just long enough for the surface to lose its high gloss but before it begins to skin over. Press your custom wax seal stamp firmly and evenly into the wax, hold for five to eight seconds, then lift cleanly. The result is a crisp, detailed impression with defined edges.
Sealing Wax Spoon vs Electric Wax Burner
Both tools have a place in a well-equipped wax seal workspace, and the right choice depends on the scale and setting of your project.
A sealing wax spoon excels in small-batch work and portability. It requires no power source, takes up almost no space, and gives you complete control over each individual seal. For crafting a handful of seals at a table, working at a venue, or producing seals in mixed colours where you need to switch between shades frequently, the spoon is the more practical option.
An electric sealing wax burner, by contrast, is built for volume. It maintains a consistent temperature without a flame, melts larger quantities of wax at once, and reduces the physical effort involved in high-volume production. If you are producing 100 or more seals in a single session, our team recommends the burner as your primary tool to reduce fatigue and maintain consistency across every seal.
Many of our customers keep both on hand — the burner for large production runs at home, and the spoon for on-location work or smaller projects where setup time matters.
Complete Your Wax Seal Kit
A wax seal spoon is one component of a complete sealing setup. Our team has curated a range of wax seal accessories designed to work together seamlessly.
- Sealing Wax Beads (100 Pack) — premium, low-smoke wax beads available in a range of colours matched to Australian wedding palettes.
- Custom Wax Seal Stamp — a bespoke stamp engraved with your monogram, crest, or motif, designed by our team to your specifications.
- Cloud Silicone Wax Seal Makers Mat — a heat-resistant silicone mat for producing self-adhesive wax seals in advance, ideal for large wedding orders.
- Double-Sided Wax Seal Stickers (10 Pack) — adhesive dots for attaching pre-made wax seals to envelopes, invitations, and packaging without hot wax.
Together, these products give you everything you need to produce hand-finished wax seals that meet the standard your stationery deserves.
How to order

Step 1
Find your style
Browse our extensive collections and find a style you love, select the products you need, customise each product via the product options and purchase your beautiful invitation suite.

Step 2
We perfect it
After purchase, we’ll work with you to select and fine-tune the details like the card and ink colours, customise your text, and you’ll receive up to three rounds of revisions at no extra cost.

Step 3
Print & delivery
Once you're happy to finalise your design, we’ll send it to our production team then ship your items right to your door. If you'd like further information, visit our page on How it works.
Shipping & delivery

Shipping costs
Our shipping prices vary based on the type of product, order value, and shipping type. At the moment, we only ship to Australian addresses.
- For orders under $100, standard shipping within Australia costs $10.60.
- For orders over $100, standard shipping within Australia is free of charge.
- For all applicable orders, express shipping within Australia costs $19.95.

Customised products
Please note that all semi-custom and bespoke stationery products (such as invitation suites, on-the-day signage, etc.) and made to order items (such as wax seals) are subject to extended processing time since they are designed for you and made to order.
We can expedite processing and organise express shipping in most cases to shorten lead times. If you require a faster turnaround, please contact our team urgently to discuss how we can accommodate your deadlines.

Accessories
We offer expedited processing and express shipping across Australia for our in-stock accessories. Some items may experience extended shipping times (up to 14-28 days) however we have clearly marked these items to ensure that customers are aware of shipping delays.
Please rest assured that we are working closely with our delivery partners to ensure that we get your orders to you as quickly as possible.


Safety

Your safety is our top priority
Wax seal safety
We would like to remind you to exercise caution when creating your wax seals, as burns can easily occur when working with hot materials.
It is important to keep wax beads out of reach of children, as they pose a choking hazard.
Please note that the wax burner plate can become extremely hot during use, so it is important to handle it with care. Do not touch the plate area until it has fully cooled down.
Likewise, wax spoons can become very hot during use. To avoid injury, do not touch the heated end of the spoon while using it. Wait until it has fully cooled down before handling or cleaning it.
Thank you for taking these precautions to ensure your safety while using our products.
How to guide

Step 1
Use approximately 2–4 beads per wax seal
Experiment to see how many beads to achieve your desired look

Step 2
Slowly melt wax using a wax spoon over a candle or burner

Step 3
Once wax is melted, pour in a circular shape where required

Step 4
Press stamp into the wax and leave in place until the wax sets

Step 5
Carefully remove the stamp from your beautiful wax seal

Step 6
Don't forget to wipe your wax spoon clean and rinse in water when done
Take care as the spoon can still be hot!

Inspiration and suggestions
For some extra creative beautiful finishes:
- Try adding gold leaf flakes to the hot wax right before you stamp it
- Try melting more than one colour together and lightly swirl colours together with a toothpick
- Add petals or tiny flowers after pouring the hot wax but before you stamp it
- After creating your wax seal, you can use a metallic marker to highlight the design further
- Add a bit of glitter or metallic powder into the melted wax before pouring
- Add in a few tiny seed beads in different colours to the melted wax before pouring


Only logged in customers who have purchased this product may leave a review.
Related products
Select options
This product has multiple variants. The options may be chosen on the product page
Select options
This product has multiple variants. The options may be chosen on the product page
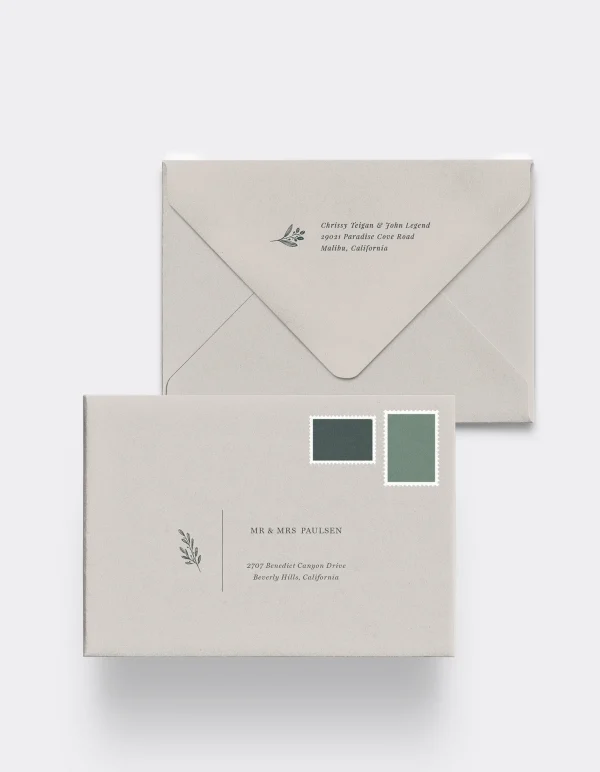

Elysium Envelope Printing
Price range: $1.87 through $3.63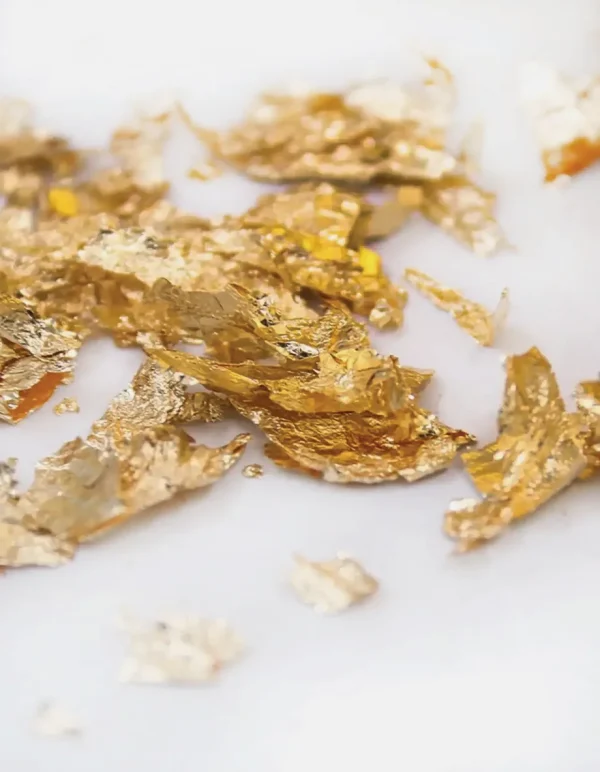
Select options
This product has multiple variants. The options may be chosen on the product page
Gold Flakes
Price range: $4.95 through $7.95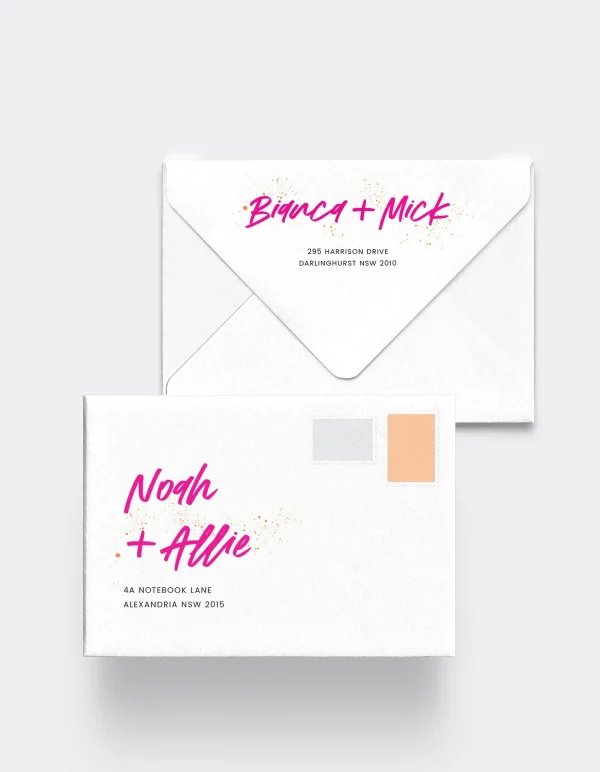
Muse Envelope Printing
Price range: $1.87 through $3.63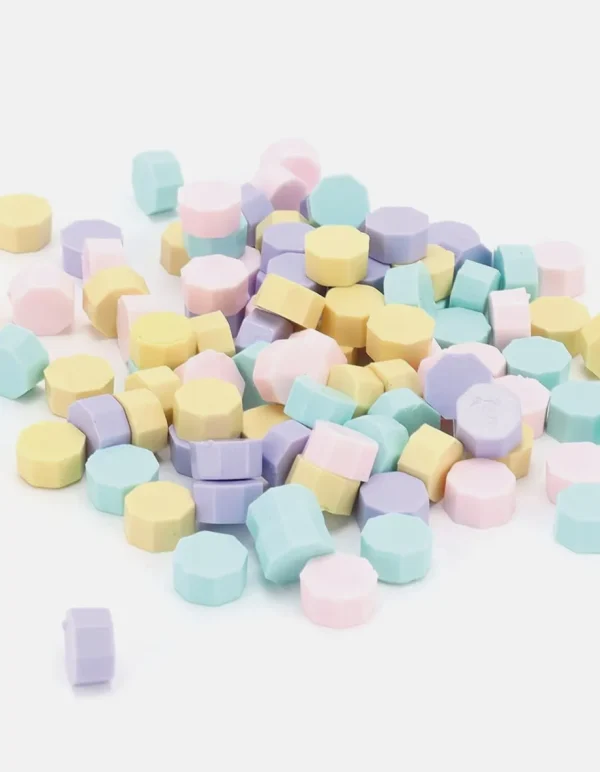
Hot
Select options
This product has multiple variants. The options may be chosen on the product page
Sealing Wax Beads (100 Pack)
$12.95
Hot
Select options
This product has multiple variants. The options may be chosen on the product page


Reviews
Clear filtersThere are no reviews yet.